Before you create your next masterpiece with Luma AI, it's crucial to review your prompt box settings. Properly configuring these options ensures your generated content aligns perfectly with your creative vision. The Luma AI platform provides several tabs, each designed for a specific type of generation or modification.
Prompt box settings at a glance:
Here's a detailed look at each key settings tab:
Describe Tab:
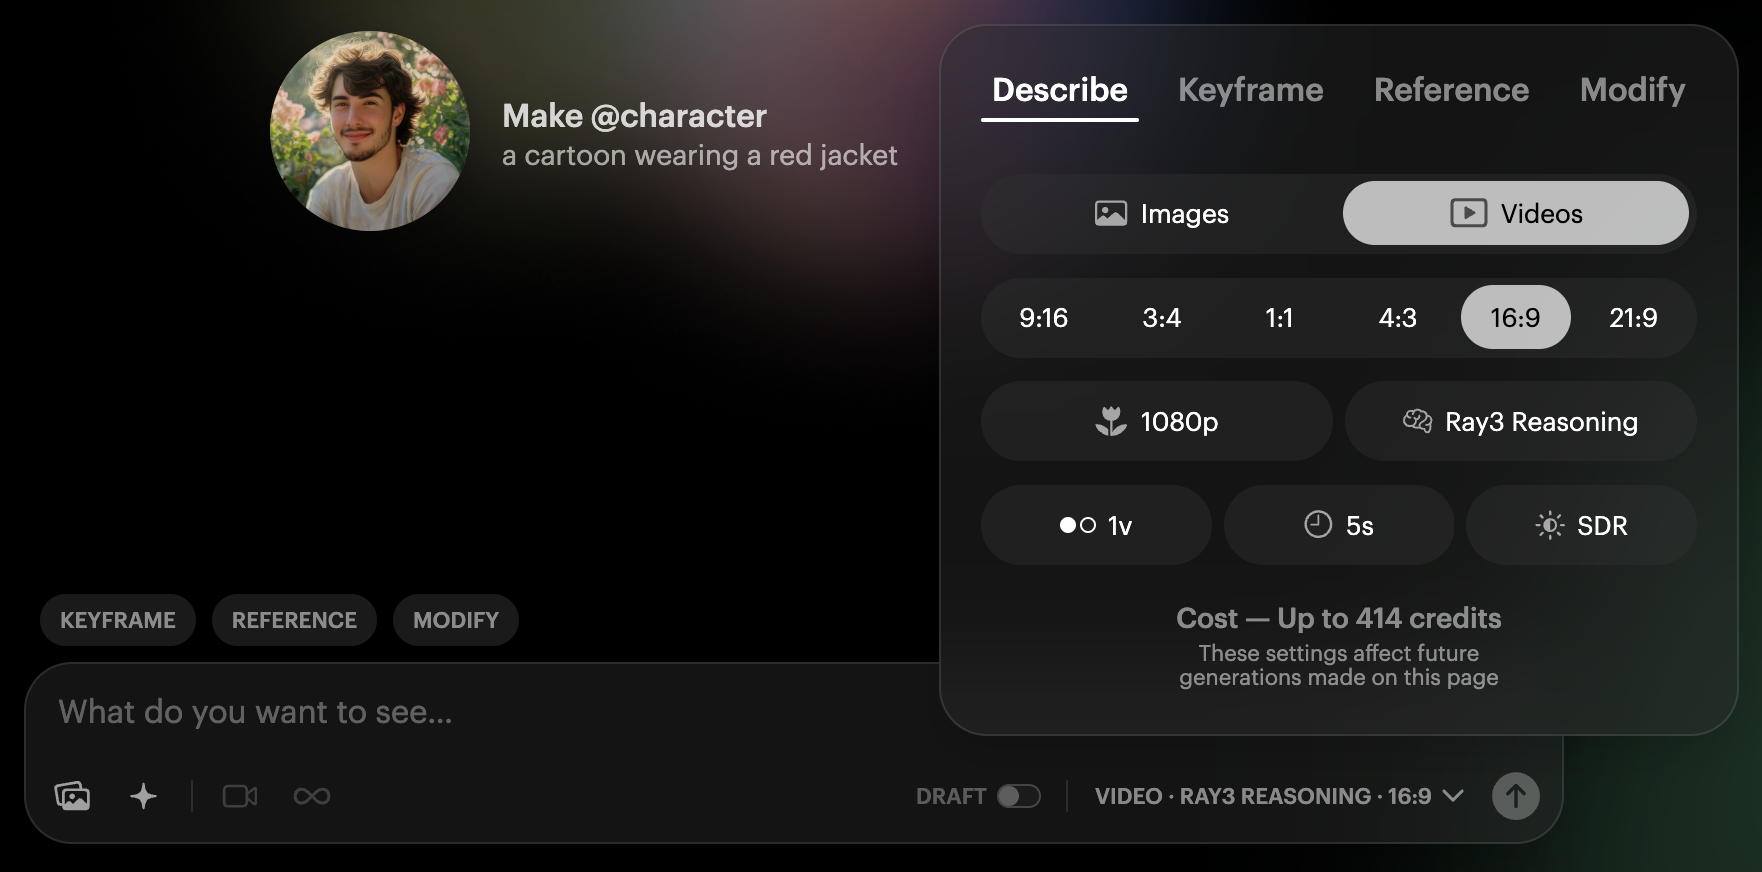
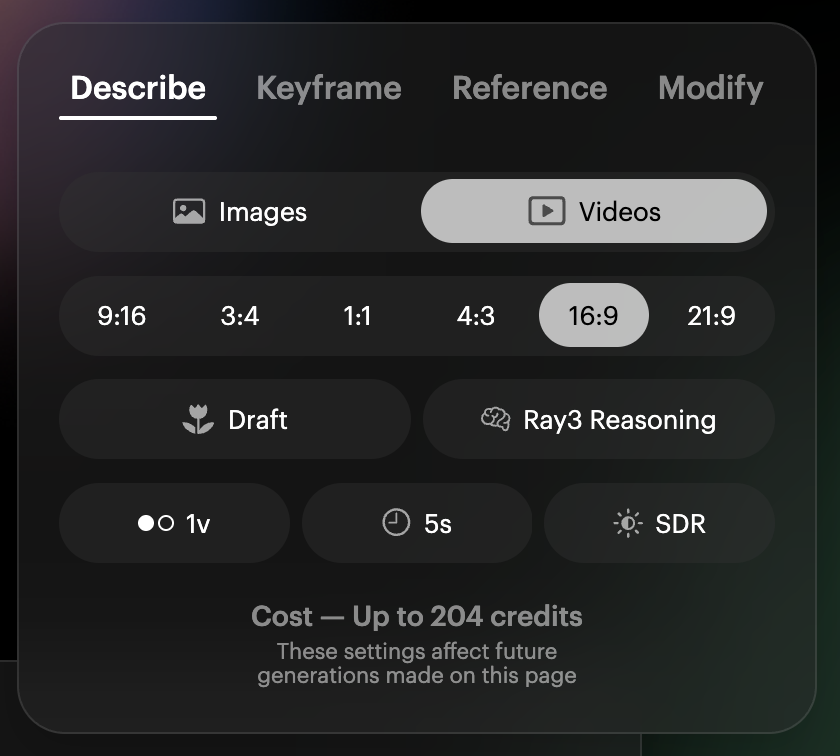
The “Describe” tab is your primary interface for creating content directly from a text prompt, whether images or videos.
- Purpose: This tab is used for "text to image" or "text to video" generations. You provide a textual description, and the AI brings it to life.
- How it works: After inputting your prompt, you'll select your desired output settings.
- Media Type Selection: You must choose between "Images" or "Videos" depending on your desired result. Below this, you can set the aspect ratio (, 9:16, 3:4, 1:1, 4:3, 16:9, 21:9) and other generation parameters such as resolution (e.g., 720p), number of outputs and specific models like Ray3 Reasoning and Ray3 Draft Mode for videos, or Image V2 for images.
Keyframe Tab:
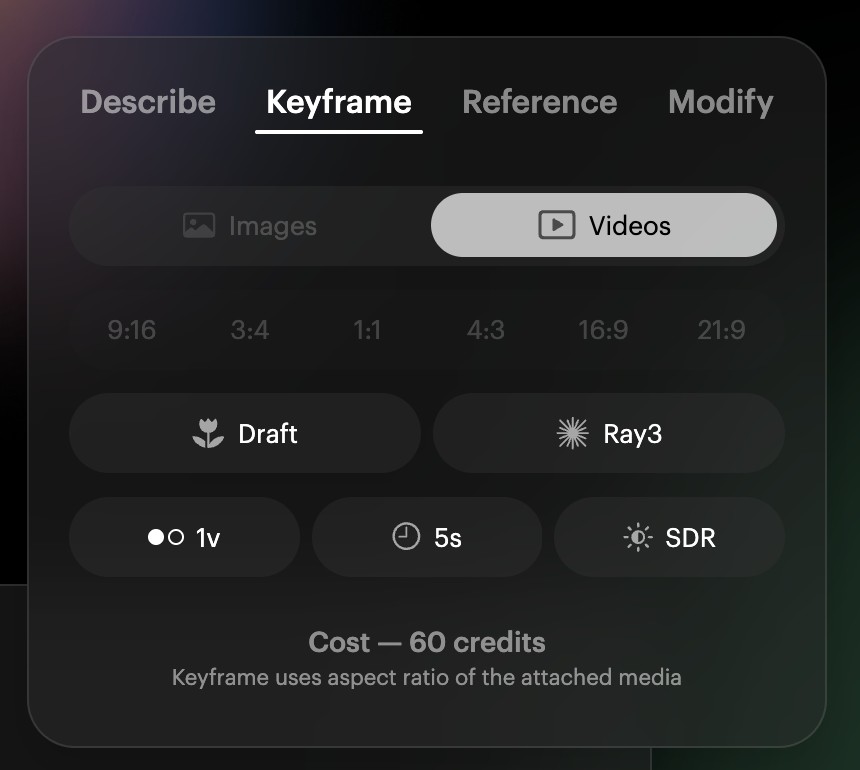
Image to Video or Image Keyframing: The “Keyframe” tab enables you to animate still images or create transitions between them.
- Purpose: This tab is ideal for converting an image into a video. You can also upload two separate images to keyframe between them, creating a dynamic visual sequence.
- Important Note: When using the "Keyframe" tab, the system will automatically use the aspect ratio of the attached media. You will not manually select the aspect ratio as you would in the "Describe" or "Reference" tabs. Other video-specific settings like duration (e.g., 5s) and model (e.g., Ray3) will still be available. You can also pick the dynamic range, such as SDR, HDR and HDR+EXR Export.
Reference Tab:
The “Reference” tab is designed for generating new images based on an existing visual input.
- Purpose: This tab lets you upload a "reference image" to guide the AI in creating new, similar images. This is perfect when you have a specific style, composition, or scene you want to replicate or build upon.
- Important Limitation: The "Reference" tab is currently only supported for image generations. You cannot use a reference image to generate videos here. You will select "Images" as your media type and can choose aspect ratios (e.g., 9:16, 1:1, 16:9) and output quality (e.g., 1080p, Image V2 model).

4. Modify Tab:
The “Modify” tab on the video and image modification panel is dedicated to altering existing video or image content.
- Purpose: This section is specifically for making adjustments or transformations to videos or images you've already generated or uploaded.

Shortcuts:
There are also three useful shortcuts for Keyframe, Reference, and Modify above the prompt box, allowing you to quickly switch between different styles of creations.

Additional Settings:
Suggestions:
Suggestions are designed as a prompt helper. By mixing and matching elements, they can make it easier to create a prompt.

Camera Tags (Ray1.6, Ray2 and Ray2Flash models only):
Camera tags allow you to create various camera motions in your shot, and you can combine them to achieve wilder movements.
Important Note: Make sure you have the correct model selected in the settings, otherwise the camera tag will remain greyed out.

Loop:
To create a seamless loop for your video, simply tick the infinity icon.

Draft Mode (Ray3 only):
Draft Mode is a cost-effective way to generate using the Ray3 model. To enable Draft Mode, simply tick the DRAFT icon in the prompt box.
Important Note: Ensure you have the correct model selected in the settings, otherwise DRAFT will remain greyed out.

Was this article helpful?
That’s Great!
Thank you for your feedback
Sorry! We couldn't be helpful
Thank you for your feedback
Feedback sent
We appreciate your effort and will try to fix the article