Category:Characters
Tags:character consistency, @character tag, Modify Frame, prompting techniques, Ray3, character sheet, multiple characters, animated characters
Introduction
Dream Machine has the ability to keep your characters consistent across multiple scenes and generations. While some users find this challenging, there are proven methods that professional creators use to maintain character consistency reliably. This article covers three commonly used methods and best practices for keeping your character or multiple characters consistent in your scenes, from beginner-friendly prompting techniques to advanced multi-character workflows using Luma AI's Dream Machine with Ray2 and Ray3.
(Video Courtesy of Ryan, Renato Di Giorgio and Team)
Important: Understanding Positive Prompting
Before diving into character consistency methods, it's crucial to understand positive and negative prompting. Be careful not to put negative prompts into your prompts. As well-intended as you might be, if you say "a nice person's face, who does not look like a monster," you may not get a monster's face, but your result will be farther away from a nice face compared to if you had just stated only "nice face."
It is far better to keep your prompt positive with important details, and only the details you want to see in your final output.
Example prompt: "A nice lady's face, smiling, wearing a crown"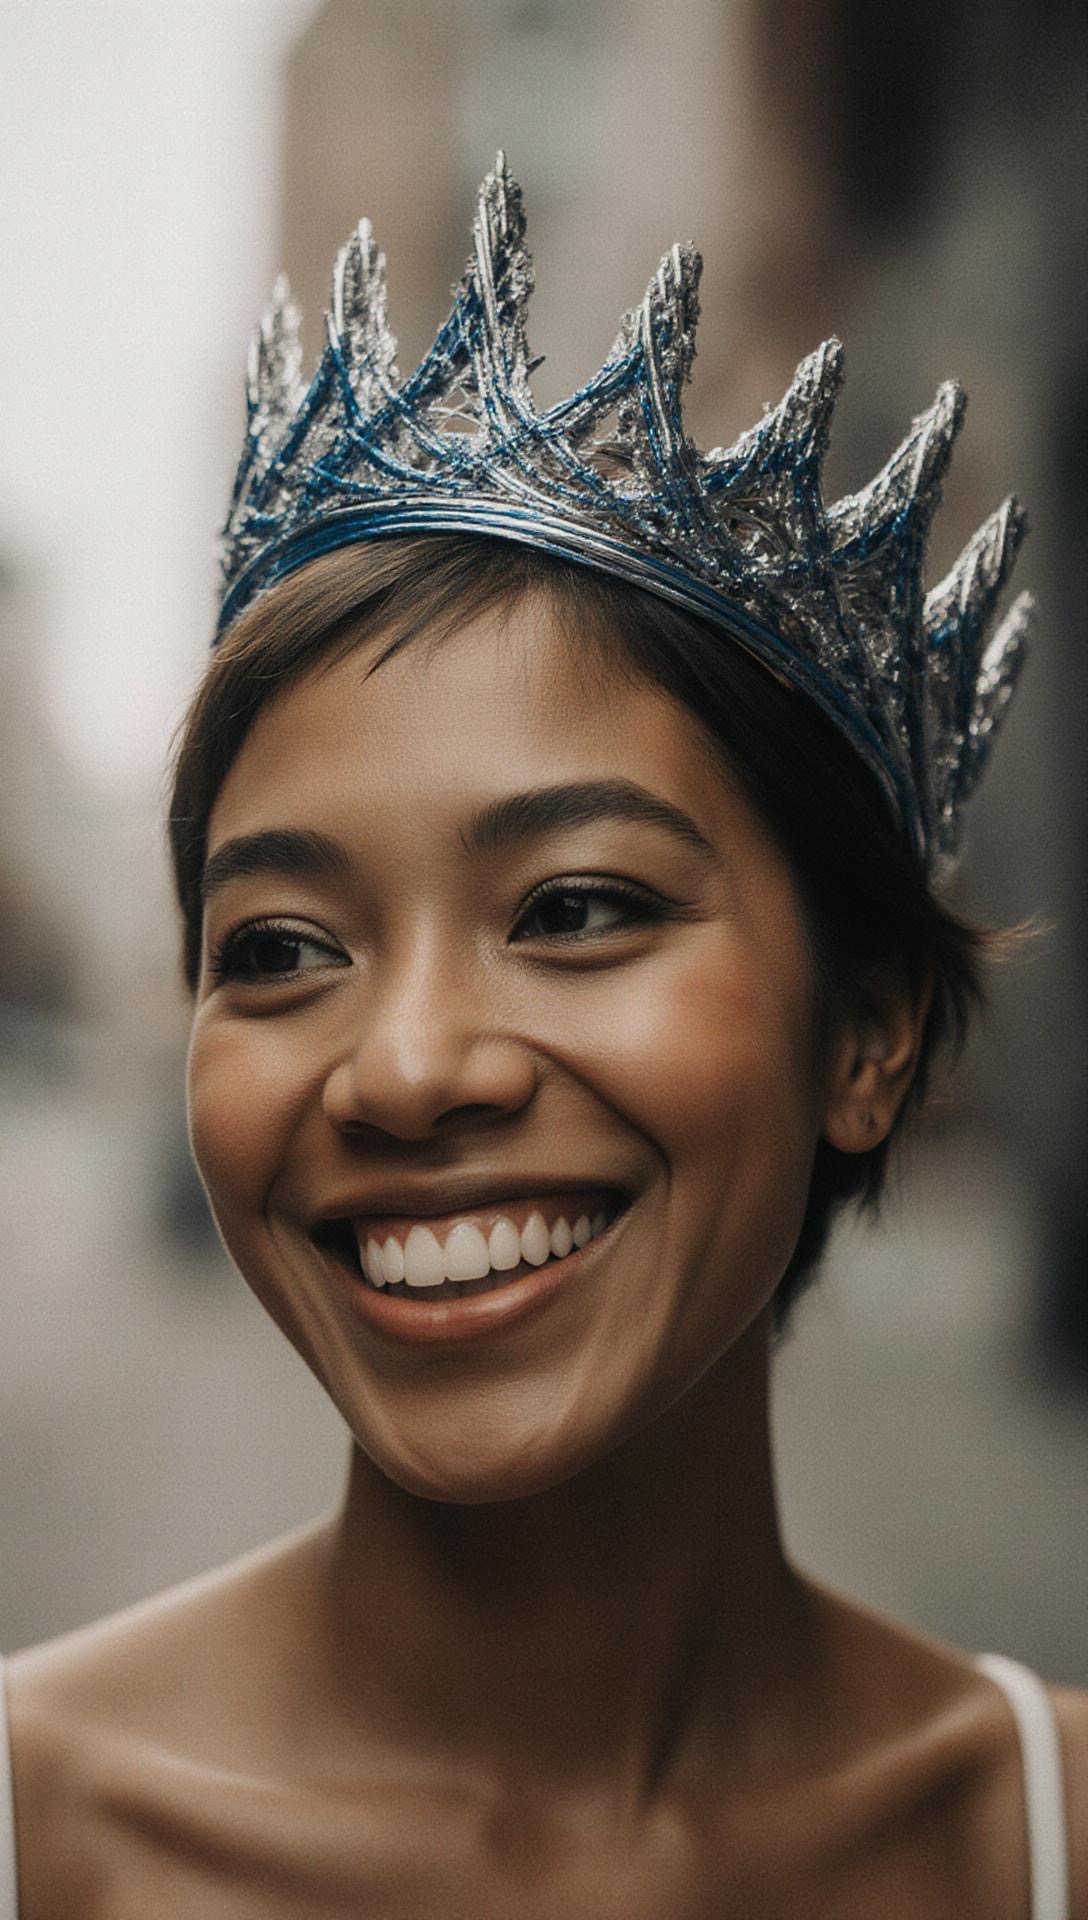
Inverse example prompt: "A nasty monster's purple face with big teeth and creepy eyes"
There is a full article about positive and negative prompting that covers this topic in depth: Understanding Prompting for Dream Machine
Three Main Methods for Character Consistency
Each of these methods can be used independently or combined to yield different results. Remember we are in the world of AI—if one method doesn't work for your specific use case, it is prudent to experiment, combine techniques, and try different ideas until you achieve your vision.
Method 1: Easiest/Fastest Way (Prompting)
If you want to dive in instantly and you have an existing Start Frame of your character, you can use simple prompting to describe what the character does. The key is to add this phrase to your existing prompt:
"keep the character's face / hair / expression / features the same"
You can edit this phrase based on your character's specific features (if the character doesn't have hair, you can say face shape, etc.). This method is more specific to Ray3, which generally follows prompts well.

Example Prompt:"Korean pop star is standing on a stage, we start by looking at the face, doing a 180 around them, we go around them showing the back of their head and they turn their head and show us their face again, keep the character's face / hair / expression / features the same"
Settings:Ray3, 720p, HDR ON, 16:9, 5 seconds
Method 2: Reference Image with @Character
Using a regular prompt but tagging your main character with '@character' is another surefire way to make your character stay consistent. This method is simple—just update your existing prompt from something that might start with "Make the character jump" to "Make the @character jump". It helps direct Dream Machine to ensure the character is affected and remains consistent.
Example Prompt:
Instead of: "The Korean pop star but her clothes are a glittery K-Pop outfit in blue and aqua, who is standing on a stage with a colorful screen and partial view of an audience, head to mid"
Use: "The same @character Korean pop star except change her clothes to a glittery K-Pop outfit in blue and aqua, who is standing on a stage with a colorful screen and partial view of an audience, we are looking at her face, head to mid"
Settings:Ray3, 720p, HDR ON, 16:9, 5 seconds
Method 3: Modify Frame Method
Another way to create characters consistently is to first create a video, then select MODIFY. Once in Modify, there will be the ability to add a Text Prompt, select Start Frame (an already created image), or 'Modify Frame'—which is the tool we will use.
If you select Modify Frame, it will use the First Frame of the video you are trying to modify as a starting point (just like Reference), and you can prompt the changes you want. You can describe changes of outfit, background, facial expression, etc.—just make sure to keep phrases from Method 1, such as "Same face, hair, pose" at the start.
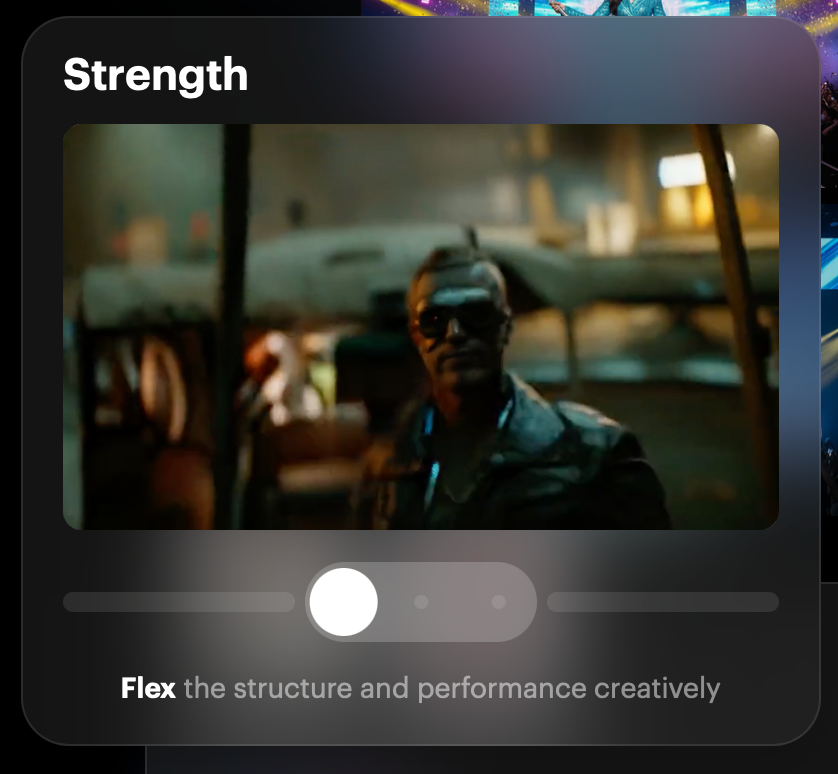
Important:The Settings for 'Strength' should be set to Flex 1 (which is usually just enough). You may want to still include the words "Same female face" or "Same male face" when you create a video using Modify.
Press the Generate button and keep tweaking and adjusting until you get the first frame you are looking for. At this point you can do 2 things:
Option 1:Simply download the first frame, then use that as a reference to start a whole new video
Option 2:Enter the prompt, get the result you like, select it, then hit Apply. Then with or without a prompt (experiment), the character should be consistent, but the outfit or other details change, while the movement will be the same—or almost the same—as the original video. Remember you are MODIFY-ing the original video/source.

Example:Taking a character in one outfit, using Modify Frame, then using this text prompt: "Same girl's face, pose, but hair is blue, and smokey eye makeup style, and a stylish modern leather jacket and leather pants with crop top cyberpunk outfit"
Then select the result and hit Apply. Then (with no prompt) just hit generate.
Settings:Ray3, 720p, HDR ON, 16:9, 5 seconds, Strength: Flex 1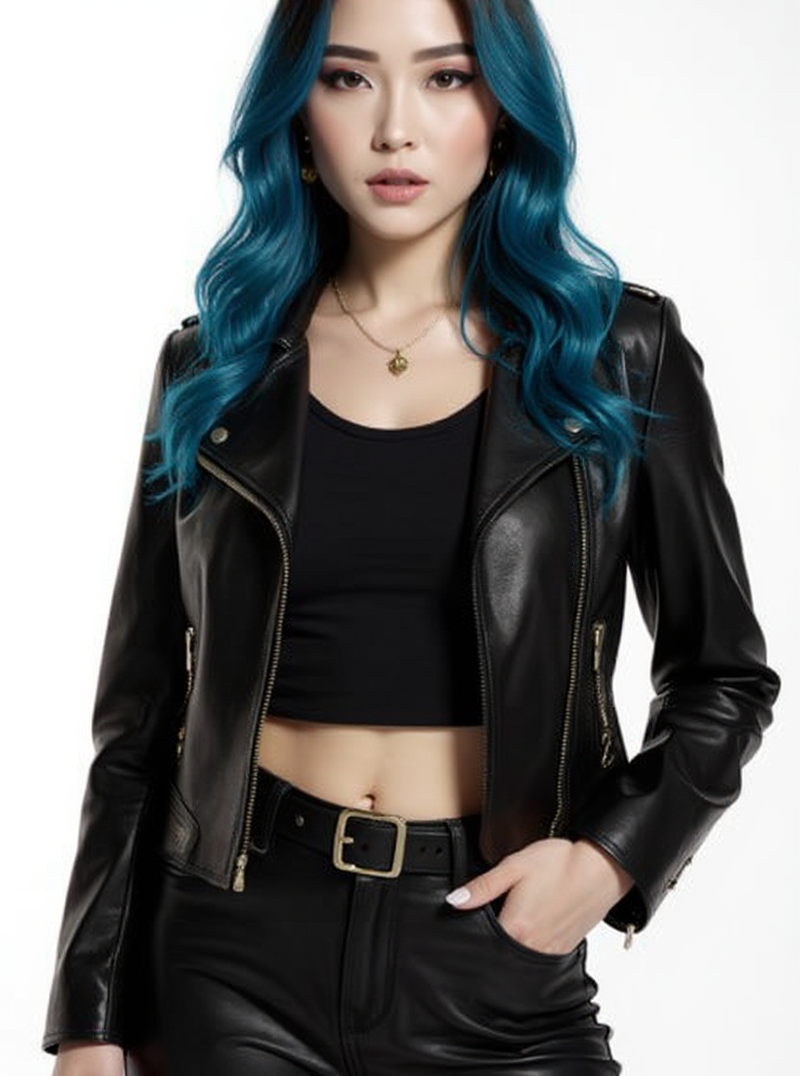
View Detailed Examples
To see the full progression of creating consistent characters—from creating a character, reframing the size to 16:9, creating a consistent character 180 camera spin video, changing their outfit, and creating similar videos with the character remaining consistent:
View all detailed examples at:
https://dream-machine.lumalabs.ai/share/board/fbe38279-ffa5-4a6e-b388-7bda01611993
https://dream-machine.lumalabs.ai/share/board/b73c6fb7-0c2d-4967-b8ae-25f5de73e13f
Note: The 180 camera spin is just for demonstrating that the character remains the same—you can create any camera movement you desire using one of these three methods.


2D Animation, Anime and Toon Related Consistency
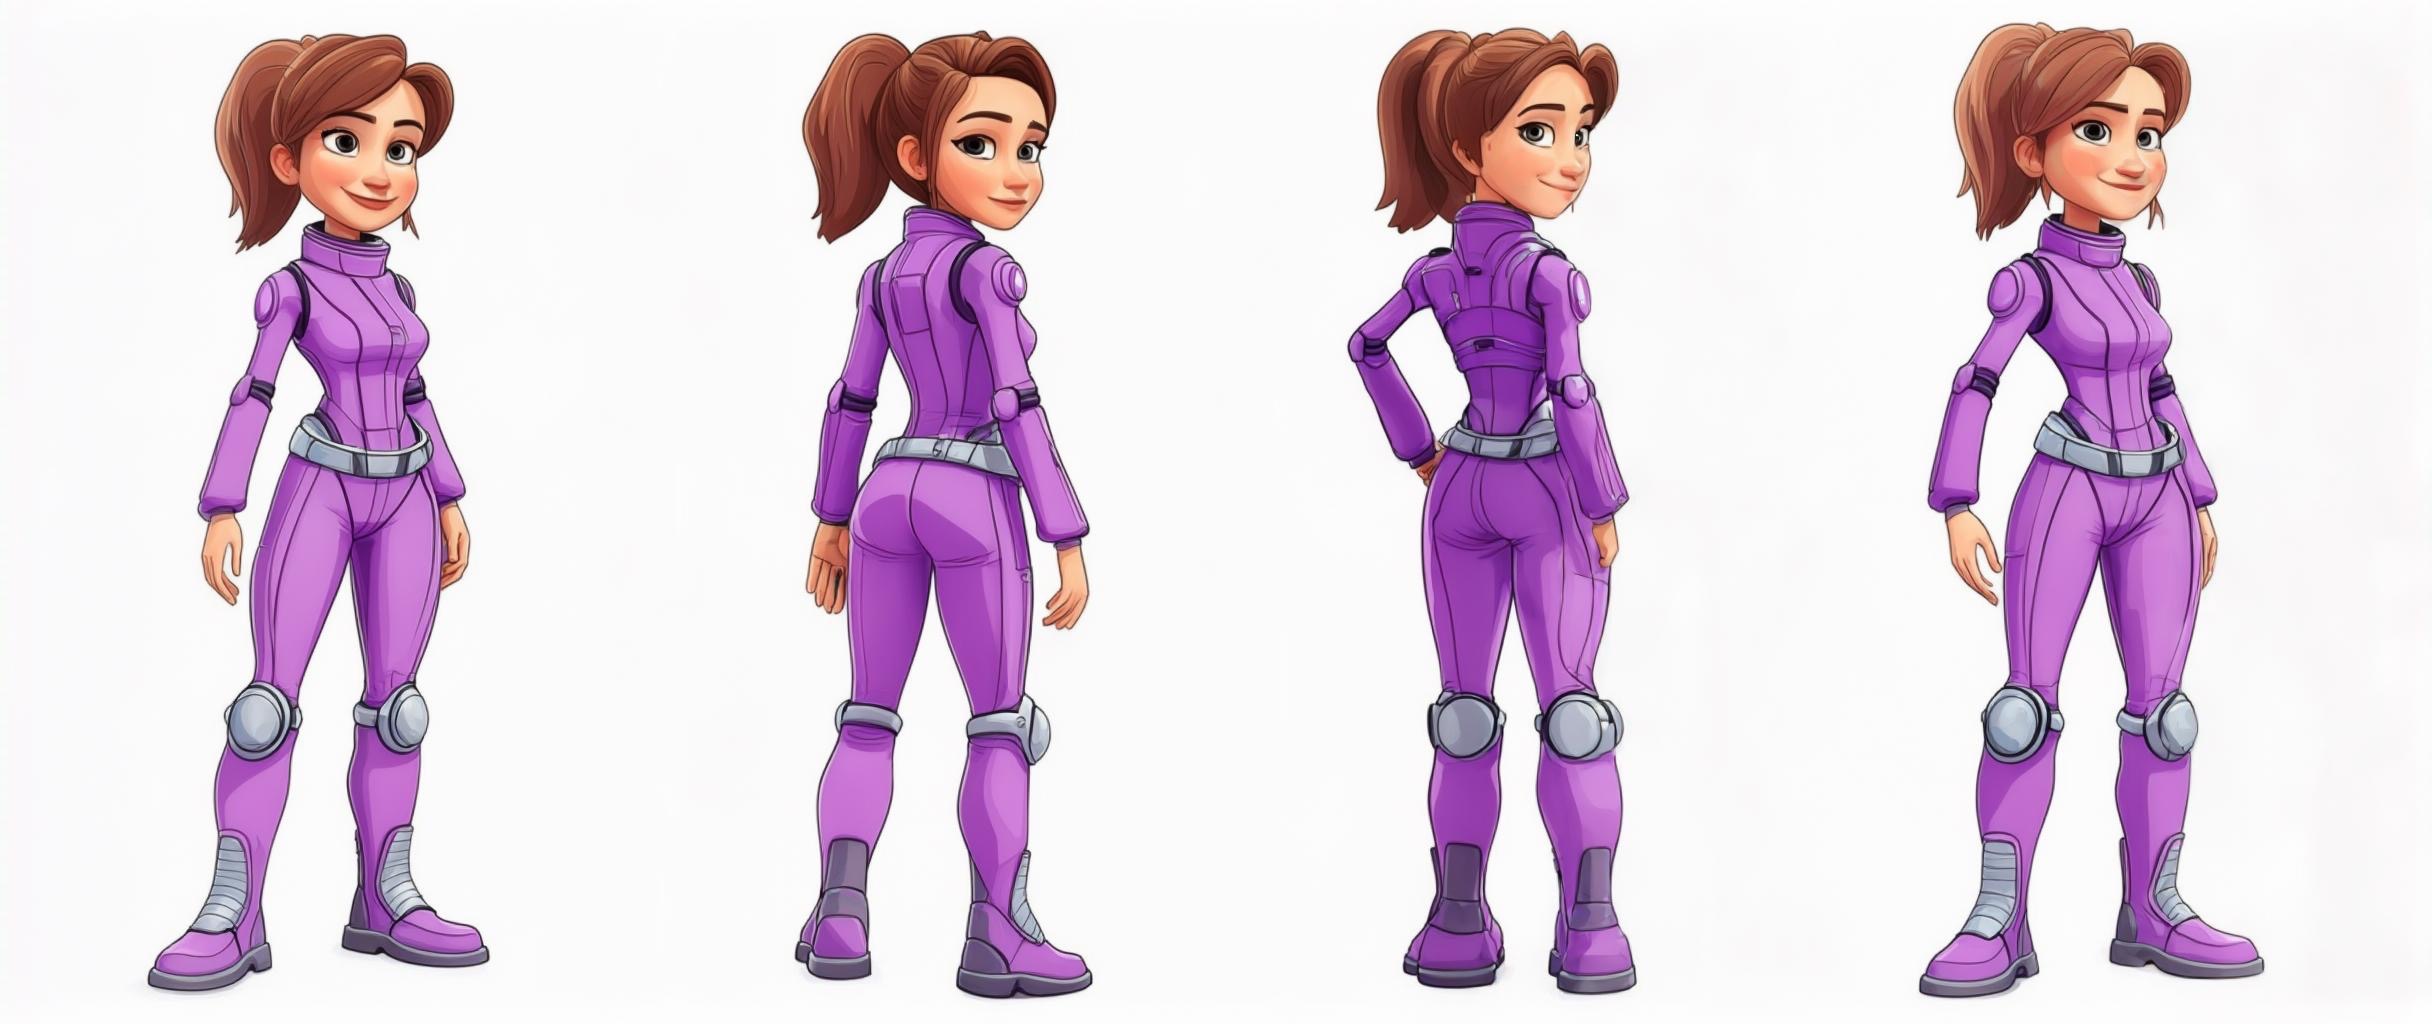
For animated characters, it's best to create a character sheet for each animated character you have—showing them from different angles such as front, back, left side, and right side. In some cases you can also include views from above.
Example Workflow for Animated Characters
Create separate character sheets for each character in the same animation style. Use these character sheets as 'reference' images when having characters interact together. After downloading all character sheet images and uploading them as 'reference', create a "first frame" for your animation.
When creating new scenes, be sure to detail things like the facial expressions or emotions of the character. Otherwise, it might revert back to the neutral character sheet facial expression. It's good to guide the AI for these important details.
View all detailed examples at: https://dream-machine.lumalabs.ai/share/board/4070f6c2-a71b-45d2-bc57-ae11229db0bc


Object Consistency
These same approaches work for keeping objects consistent throughout scenes. For example: "The gun stays the same..."
It is important to note that if the object is distinct, such as "A gun made from blue crystal," the model has an easier time identifying it and thus keeping it consistent.
A full article on PRODUCT CONSISTENCY can be found here: Product & Item Consistency Secrets in Dream Machine
PRO TIP: Combination Approach
A combination of approaches can many times ensure complete adherence. It's important to remember we are in the world of AI, where some results come out differently than we envisioned. This article should give you extra tools if you are looking for more specific results. However, it's best to keep in mind that AI creations can sometimes deviate from the exact script, and fighting that can be frustrating. Many creators embrace the unintended results if they still look good. Professional creators use the added inspiration to take their creations to a whole new level.
Troubleshooting
What happens if my character's face changes between scenes despite using these methods?:Ensure you're using Ray3 (which follows prompts more reliably than Ray2) and explicitly include phrases like "keep the character's face / hair / expression / features the same" in every prompt. If using Modify Frame, verify that Strength is set to Flex 1 and you're including "same female face" or "same male face" in your prompt.
Why does my animated or cartoon character revert to a neutral expression?:When creating new scenes with animated characters, you must explicitly describe facial expressions and emotions in each prompt. Without this guidance, the AI tends to default to the neutral expression from the character sheet. Add details like "smiling happily," "looking worried," or "angry expression" to maintain emotional consistency.
My character sheet approach isn't working for multiple angles...:Make sure your character sheet shows clear views from front, back, left side, and right side at minimum. Each angle should be in the same animation style with consistent lighting and scale. Upload all character sheet images as references before creating scenes to give the AI complete perspective information.
The @character tag doesn't seem to be helping...:The @character tag works best when combined with other consistency methods. Try using it together with Method 1 phrases like "same @character with identical face and hair" or use it within Modify Frame workflows for stronger results. Also ensure you're using Ray3, which responds better to tags.
My character's outfit or details keep changing even with consistent face...:Use the Modify Frame method specifically for changing outfits while maintaining character consistency. Set Strength to Flex 1 and explicitly state what should stay the same: "Same face, hair, pose, but change clothes to [description]." Download successful frames as new references for subsequent scenes.
Frequently Asked Questions (FAQs)
1. Which character consistency method should I start with as a beginner?Method 1 (Prompting) is the easiest and fastest. Simply add "keep the character's face / hair / expression / features the same" to your prompts when using an existing Start Frame. This works well with Ray3 and requires no additional tools or techniques.
2. Can I combine multiple character consistency methods in one generation?Yes, combining methods often yields the best results. For example, you can use the @character tag (Method 2) together with explicit prompting phrases (Method 1), or use Modify Frame (Method 3) while including "same @character" in your prompt. Professional creators frequently combine approaches for maximum consistency.
3. What is a character sheet and when do I need one?A character sheet shows your character from multiple angles (front, back, left side, right side, and sometimes from above) in the same style. This is essential for 2D animation, anime, or cartoon characters so the AI understands what your character looks like from every direction. Use these as reference images when creating scenes.
4. What does the Strength setting "Flex 1" do in Modify Frame?Flex 1 is a gentle setting that allows moderate changes while maintaining character consistency. It's the recommended strength for changing outfits, backgrounds, or expressions while keeping the character's face and core features identical. Higher strength settings may alter the character more dramatically.
5. How do I keep distinct objects consistent like I do with characters?Use the same approaches as character consistency. Make objects distinct and memorable (like "a gun made from blue crystal" instead of just "a gun"), explicitly state "the [object] stays the same" in prompts, and use reference images. The more unique and detailed your object description, the easier it is for the AI to maintain consistency.
Related Articles
Original Author:Chris Roebuck, Luma AI – Customer Support - Education
Original Creation Date:Tuesday, October 14, 2025 at 3:32 PM
Updated by:KB Conversion Team
Was this article helpful?
That’s Great!
Thank you for your feedback
Sorry! We couldn't be helpful
Thank you for your feedback
Feedback sent
We appreciate your effort and will try to fix the article